Every New Year don’t we all try and instill healthy living back into our lives after the holidays? Well, for me I have been trying to consistently practice healthy living since January of 2011. From eating more proteins and green vegetables to exercising consistently I have been very successful 🙂
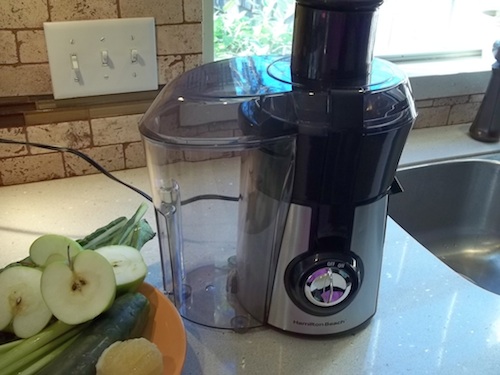
Hamilton Beach – Big Mouth Juice Extractor
Although, one of my challenges in eating the right vegetables and eating enough of them! My husband suggested I start juicing about a year ago and I absolutely loved it, but didn’t love how many attachments were on his juicer! So I fell off the juicing wagon for quite a while and I could feel it in my body once I stopped, and knew I was going to need to get back to it, and stop paying $7.00 a juice at Whole Foods.. he he!
I was excited to try out Hamilton Beach’s – ‘Big Mouth Juice Extractor’, because I heard it was powerful and didn’t come with a lot of attachments.. Win-win! Let me show you my new juicer that I use daily and share my favorite “Sweet Greens Juice” recipe with you. One of the other benefits of juicing is the nutrients from the juice are absorbed quickly by your body instead of having to go through the digestion process, it’s awesome.
Sweet Greens Juice Recipe
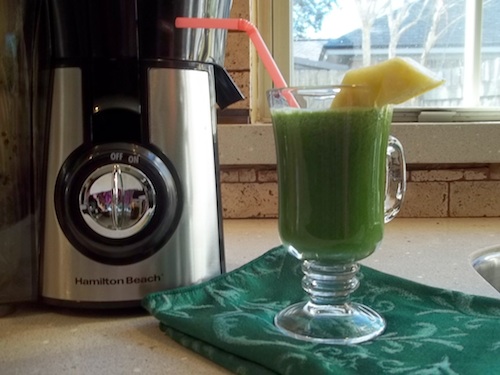
Sweet greens juice recipe
Ingredients — All fresh (no canned or frozen)
Makes approx 4 cups of juice (Use less if you want to do this daily, I make a lot at once and put in the refrigerator!)
2 Green apples – cut in half
1 Whole pineapple – cored and skin removed
4 Celery stalks
1 Cucumber
1/2 Lemon – peeled
6-7 Full leaves Kale ( Lacinato Kale is best for juicing)
1/2 cup Spinach
1/4 cup Parsley
6-7 Sprigs of mint
1/4″ slice of Ginger root
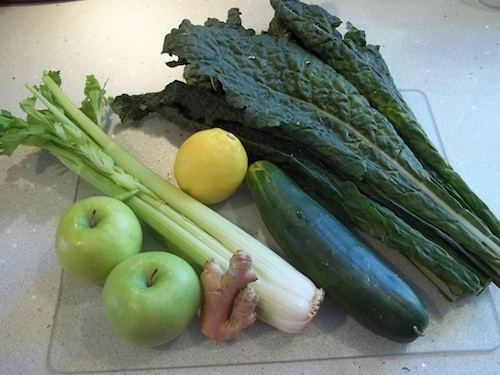
Clean all ingredients before starting
Directions
1. Clean and wash all vegetables and fruit.
2. Cut off pineapple outer later and core the center (I buy the pineapple already cored – but fresh, not canned!)
3. Feed items one by one into your juicer
4. Taste juice at the end and add or detract ingredients to your taste
5. Enjoy!
How to Use the Juicer
First – Use an empty plastic bag from your produce or grocery store and put inside the compartment that catches the skins, peels, etc.. This will help you with cleanup in the end, and will help your juicer not stain over time from the juice ingredients.
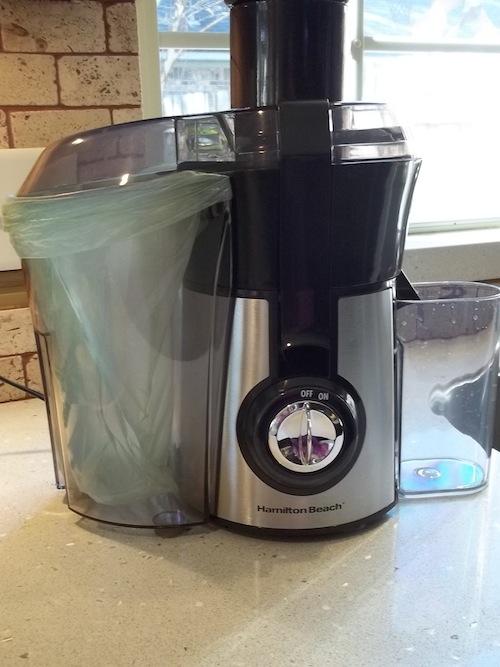
Place bag inside compartment
Second – Cut up your ingredients so they can fit through the juicer easily.
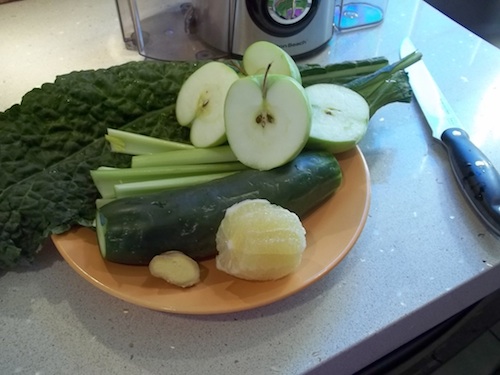
Cut ingredients to feed through the juicer
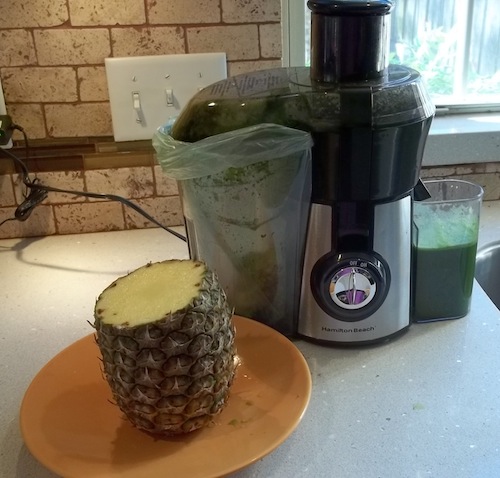
Cut off outer skin and core your fresh pineapple
Third – Start feeding your ingredients into the juicer one by one. I use a larger beverage container to pour all of the juice into as I go. That way when the extra juicy ingredients like cucumber and apples fill up the juicing container you can still keep going!
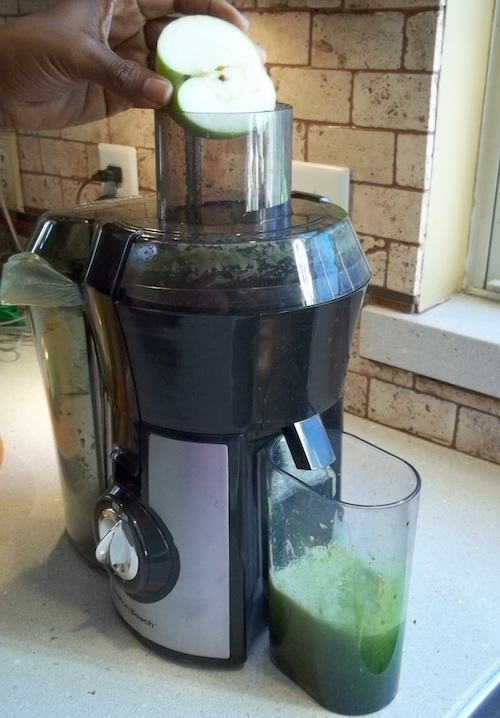
Feed ingredients in one by one
Once all of the ingredients are in you are done! All of the pieces of the juicer come apart easily to wash in the sink and then put in the dishwasher. Ensure you scrub out all debris from all the pieces with the cleaning brush that is included!
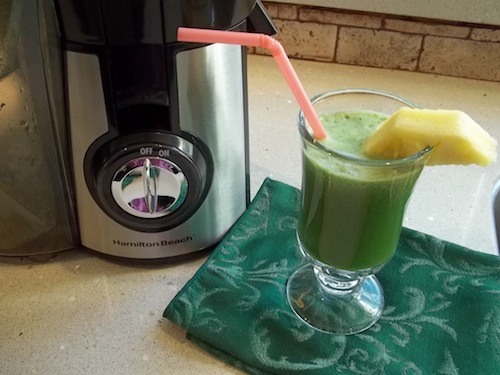
Delicious sweet greens juice
Thanks Hamilton Beach – I love my new juicer, and will keep it up through 2013 – I’m going to try a soup next! 🙂
To see my other product review of the Hamilton Beach coffee maker – click here.
Note: Hamilton Beach provided me with the juice extractor for this product review. All opinions and comments are strictly my own.
For more wellness ideas on Stagetecture, click here.
Receive Stagetecture's Daily Lifestyle Ideas
FREE - Daily emails with recipes, home decor, D.I.Y, and lifestyle tips! : ) Who doesn't need help?





I have learned Greens Juice Recipe step by step from your recipe.and it’s very testy.thank you.